Parmesan Rosemary Crackers
Snacks and Appetizers could be my dinner every night. Finger food, tapas, hor’dourves, small plates whatever you call them I like them a lot. In fact, though my blog as been primarily sweets, I am going to try to post a new savory snack every week. And then precede to eat the whole thing by my self.
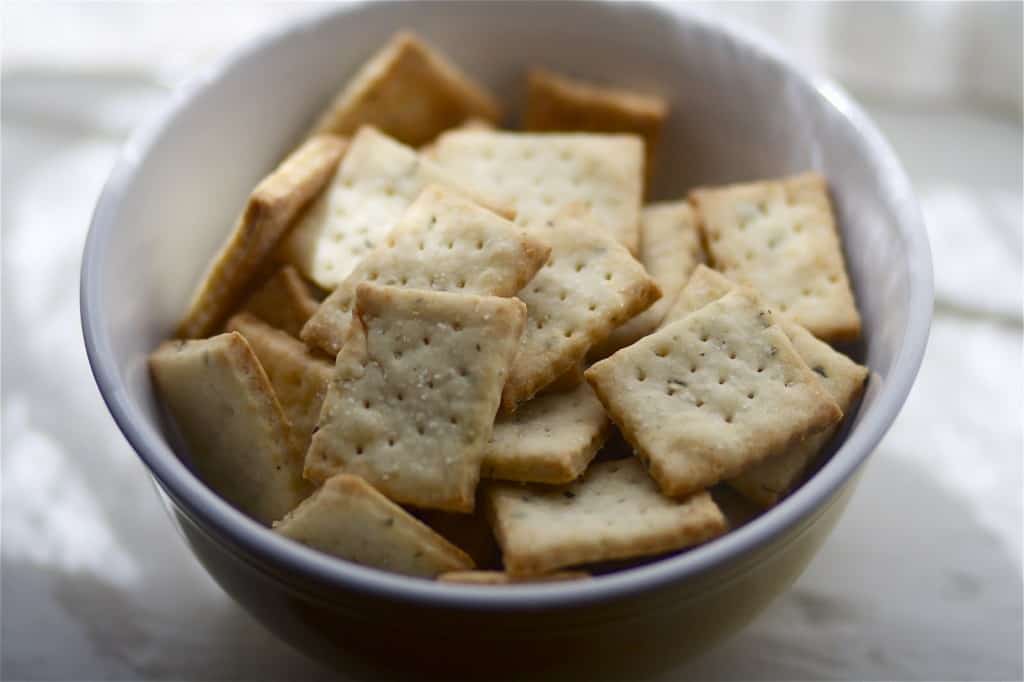
These crackers are perfect for any dip, spread or cheese plate, (also amazingly good all by themselves.) Full of rosemary, fresh grated parmesan and topped with sea salt, these crackers are addicting. I made them for my book club and we dipped them in crab dip, white bean spread and tzatziki and the dips lasted longer than the crackers.
These babies are simple to throw together and go from ingredients on the counter to crackers in your mouth under 30 minutes, (you may want to allow them to cool, I did not!) The original recipe didn’t have rosemary but I think it was a great addition. Any other herbs or spices or cheeses could also be good, I’d like to try them again with garlic, oregano, or maybe just lots of cheddar. Enjoy!
Parmesan Rosemary Crackers
1 batch- about 30 crackers
Print this Recipe
1 cup all-purpose flour, more as needed
1/2 teaspoon salt
1/2 cup finely grated fresh Parmesan cheese
3 sprigs of rosemary (with the herb removed from the stem.)
4 tablespoons unsalted butter
1/4 cup cream or half-and-half, more as needed
Coarse salt, pepper, sesame or poppy seeds or whatever you like for sprinkling (optional).
Heat oven to 400°F. Line a baking sheet with parchment paper or lightly dust with flour.
Put flour, salt, cheese, rosemary and butter in bowl of a food processor. Pulse until flour and butter are combined. Add about 1/4 cup cream or half-and-half and let machine run for a bit until a dough forms. If it does not come together, add more liquid a teaspoon at a time, until mixture holds together but is not sticky. (I only needed the ingredient levels as listed to pull the dough together.)
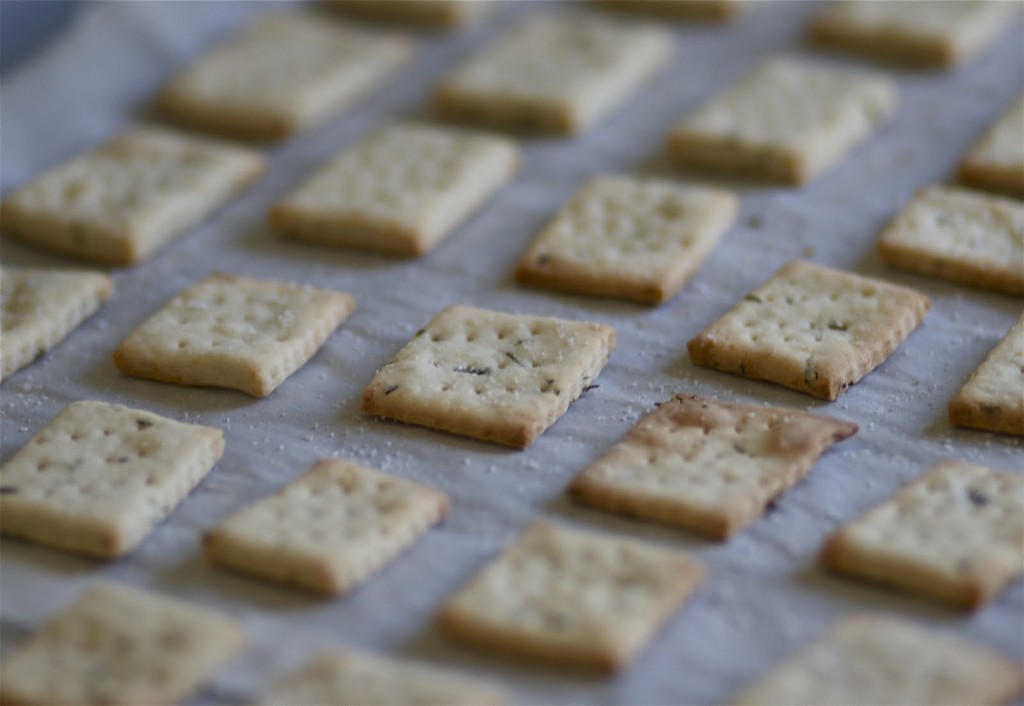
Roll out dough on a lightly floured surface until 1/4-inch thick or even thinner, adding flour as needed. From here, form them into individual crackers (I went for 1 1/2-inch squares cut with a fluted pastry wheel) and bake them 1/2 inch apart on your baking sheet (the method I used) For either method, stab all over with a fork and sprinkle with salt or any other toppings you are using.
Bake until moderately browned, about 12 minutes. Cool on a rack; serve warm or at room temperature or store in a tin for a few days.
Note: These get a little soft when stored in a container. If you are baking them less than a day in advance, it is Ok to leave them uncovered to maintain their best texture.
Adapted from Smitten Kitchen


These sound delicious and the photos are beautiful!
Love these!!! They look amazingly delicious, Audra!
These look amazing. I would not be able to let them cool. They’d be gone way before they got the chance. Great recipe.
These little crackers are making me hungry. No doubt homemade is so much better. Great post.
These are the cutest little crackers!! You could box ’em and sell ’em, they look so nice and yummy!
These look amazing! Great post, I haven’t seen homemade crackers in a long time, I’ll definitely be making these! :)
Lovely crackers…I love finger foods too and everything served in individual dish…Nothing beats homemade:)
These are beautiful little crackers! I’m always amazed at people who make crackers, I just don’t think I could do it, haha.
Great blog!! Making homemade crackers..wow I wouldn’t have thought to do that!!!!
These crackers look great! I think this is one of my goals (crackers) to make before the end of the year. Bookmarking!!
Excelent crackers, I like your proposed combination of parmesan with rosemary. I will try to make it this weekend.
those are gorgeous photos! i’m always so impressed with people make homemade crackers! bravo!! just found your blog… gonna go browse and book mark now!
-mini baker
minibakercupcakesblogspot.com
Cute crackers! I can imagine that they would be just as good by themselves. :)
Happy to have found you today!
This looks great–it reminds me of one of my favorite Ina Garten recipes for thyme crackers.
Gorgeous crackers! They sound delicious! I need to try to make my own soon, they don’t even sound that hard!
mmm I have all of these ingredients right now so I need to try these! Love crackers but have never made them homemade.
I am dying to try crackers and these look fabulous!
Love this! Yum!
These crackers look delicious! And what a great way to impress people at a party by saying you actually made the crackers right? totally going to be that girl!! :)
I never thought I’d consider making crackers… but I think I’m going to hold on to this recipe. The crackers look delish and I know my kids would enjoy them. Good stuff!
LOVE these crackers! I skipped the rosemary and just tossed in a 1/4 tsp. of Garlic Plus spice and they were amazing! I made a “test” batch before Thanksgiving, ate them all and promptly made and ate an entire second “test” batch. Got rave reviews from family, and multiple recipe requests… and I’m apparently making them for Christmas! (Or so I’ve been told!)
Thank you! these tasted soo good :)
I forgot to poke holes w/ a fork so they were slightly doughy in the center, eh :-\
I also used a cookie cutter…
DELISH! <3
Thank you for sharing! I made these for a wine tasting—–I don’t know that they will make until the event. Very tasty.
I really like your recipes. There is a new platform where you can upload them and are seen with a design adapted to iPad. You can also link to your blog, get statistics… It is http://www.cibos.me