Chocolate Chip Banana Bread In A Jar

We can hopefully all agree that homemade gifts are some of the best.
When you are good in the kitchen, nothing feels better than spreading the love and giving something delicious that you made- am I right? I’m giving people baked goods all year round, but this recipe is extra special.
It is so compact, so perfectly portioned and packaged that handing them out made me giddy. Plus inside the jar is the Best Banana Bread Recipe which has pretty famous around here- so it’s bound to be good!
Why have I never thought to bake something in a jar before?? It works so well and is just so darn cute.
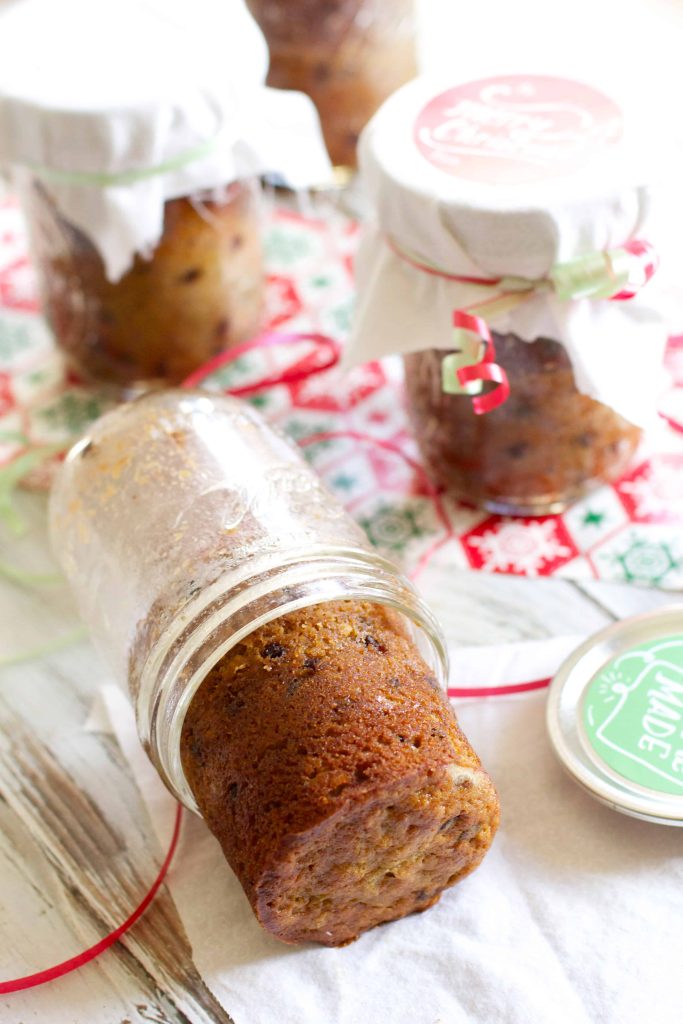
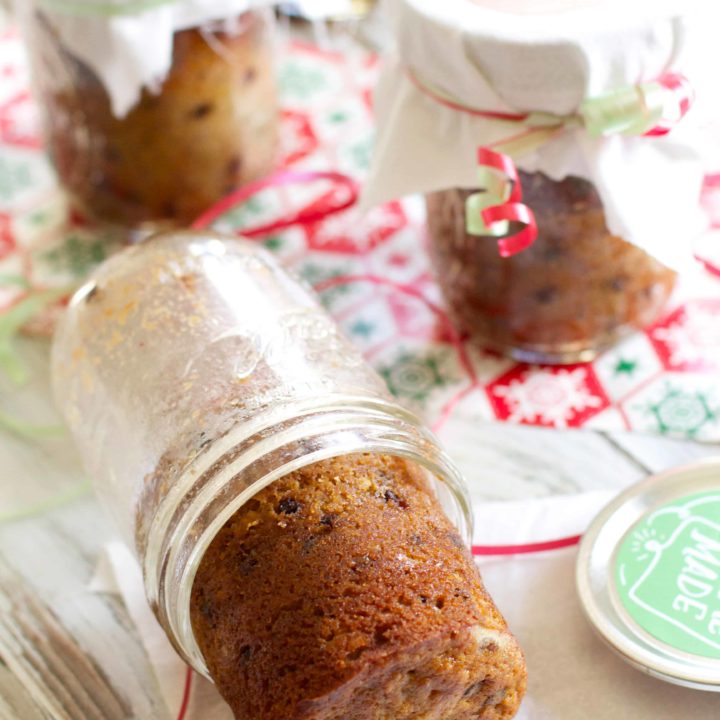
For these I made my favorite Best Banana Bread Recipe. I added chocolate chips and it was to die for. As I mention in the notes section of the recipe, putting the lid on the jars right out of the oven creates a steam affect that makes this bread even more moist than normal. We had a jar 3 days after baking and it was perfection. (In case you’re wondering- just flip the jar upside down and the bread slides right out. Warming it slightly makes it even easier!)
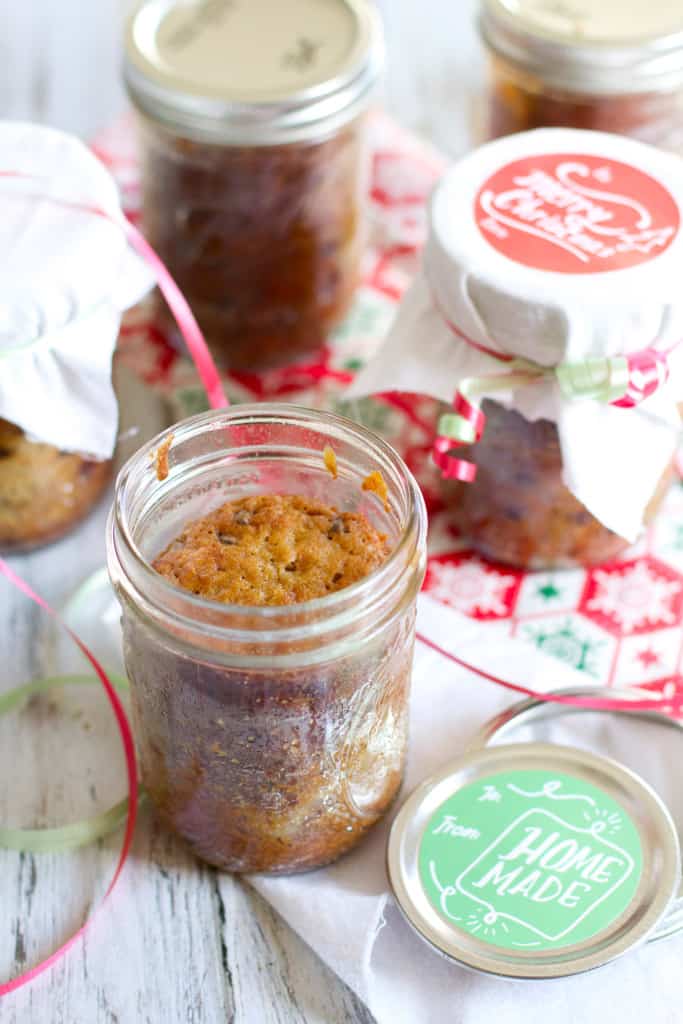
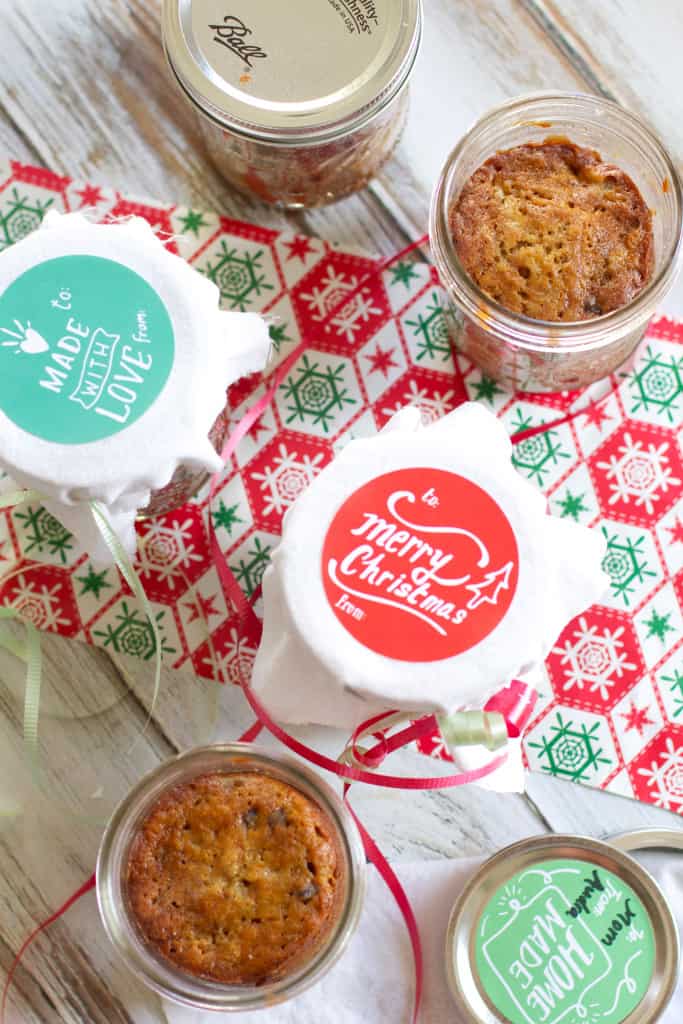
Baking right inside the jar was more simple than I’d imagined. First you of course have to grease the inside of the jars, and then your batter goes in- about 2/3 full seemed to work well. Don’t make the mistake of trying to bake these on a cookie sheet though- they only bake evenly when placed directly on the oven rack. (Which seemed tricky but isn’t so bad.) They bake up perfectly even and the lids actually self-seal keeping the bread airtight and lasting up to a week. Some pretty ribbon, a label, and a fabric square and you have one adorable homemade gift!
(These labels came from Minted as a free gift with my Christmas Cards. So cute I may need to order more!)
If you want to make this recipe in a loaf pan- check out my Best Banana Bread Recipe. It has hundreds of comments from people who love it because it’s that good!

Chocolate Chip Banana Bread In A Jar
Ingredients
- 2 sticks, 1 cup of butter, melted
- 1 cup white sugar
- 1 cup brown sugar, light or dark
- 4 eggs
- 1 tablespoon vanilla extract
- 3 cups all purpose flour
- 2 teaspoons baking soda
- 1 teaspoon salt
- 1 cup of sour cream, greek yogurt, OR buttermilk
- 6 very ripe bananas, mashed (I usually use medium-large sized ones)
- 1 cup chocolate chips, I like mini
Instructions
- Preheat oven to 325F. Grease or spray 8 wide-mouth pint jars, set aside.
- In a large bowl whisk together the melted butter, and sugars. Add the eggs one and a time and vanilla and whisk until smooth.
- Sprinkle the flour, baking soda and salt over the butter mixture and stir to mix until just combined.
- Fold in the bananas and sour cream/yogurt/buttermilk. Gently fold in the chocolate chips.
- Carefully spoon batter into jars, filling about 2/3 of the way. Wipe the rim of the jar down in case any batter spilled/splashed.
- Place the jars directly into the oven, carefully arranging them on a middle rack. Meanwhile sterilize the lids of the jars in boiling water and set aside.
- Bake for about 45 minutes, or until loaves are golden brown and a toothpick inserted comes out clean.
- Place the lids onto the jars right out of the oven- in about 10 minutes you should hear a "pop" and they are sealed. Bread will last in the jar up to a week.
Notes
As you can imagine. Sealing warm banana bread traps the moisture and makes it very very moist but the time you actually eat it. This is not a bad thing, but depending on how you like the texture you may choose to let them cool a bit before sealing. The lids won't "pop" to create the seal unless they go on hot, but I think the breads would still last a few days since it would be airtight.
Nutrition Information:
Yield: 8 Serving Size: 1 gramsAmount Per Serving: Unsaturated Fat: 0g


This is a great gift idea! And I just love how little they end up being.
This is the cutest idea! Thanks for sharing, I’m definitely trying this :) Do you think this would this work with a bigger jar as well?
Hey! I personally wouldn’t do a bigger jar- I think it would make it more difficult to make evenly- but you could try and report back! :)
I wonder why the bread would only lost up to a week. Being canned it should last well over a year.
Although this is baked in a jar it isn’t “canned” in the proper sterilized way.
Hey! I personally wouldn’t do a bigger jar- I think it would make it more difficult to bake evenly- but you could try and report back! :)
This is seriously one of the most brilliant ideas ever! Can’t wait to make some to give to family and friends, I’m sure they’ll be amazed as much as I am!
xo, Elisa
Thank you, I’ve just found my gift for my volunteers at the Outreach Office!
these are the perfect gift!!! and adding choc chips to the banana bread was geeeeenius :D
Do you refridgerate these if keeping for 3 days? I am worried about molding because of moisture in the jar.
Ours didn’t mold at all after 3 days but you could store in the fridge if you were worried about it.
I just found some jar recipes for Christmas that would work for me
Thank-you for your reply. I am anxious to try this.
Hi. You choose one, correct? sour cream, greek yogurt or buttermilk. What’s the taste difference?
Thanks.
I have used them all but this batch was made with buttermilk!
Hi. I tried this today with buttermilk. Taste is great. Only issue is seemed a little “wet” on the outside, mildly on the inside. Any suggestions?
Could you freeze these after making ?
I think that would work!
SO cute! I love this idea. I might just make a batch for myself. To eat, not gift.
I’m on a budget for Christmas so this seems like a really cute gift idea. How long does it last being sealed in the jar?
I would say about a week!
Edible gifts are the absolute best <3
I love this idea! Have you ever tried any cake recipe in a jar? Any suggestions?
I never have tried but I’d like to!
Hi. I tried this today with buttermilk. Taste is great. Only issue is seemed a little “wet” on the outside, mildly on the inside. Any suggestions?
The bread IS extremely moist due to the steam when you put the lid on the jar…if it’s too much so maybe they needed to bake a bit longer?
Our family lives this recipe! Thanks for sharing!!!
Hello all u cooks out there in banana bread land !
On baking in jars……im so sure all u youngsters are only using jars w straight sides, which do NOT get
Narrower before the lids go on………but………..
If u bake your bread in empty tin cans, the larger Bush baked beans cans are a perfect size ! Fill 2/3
Full…….bake at prescribed temp in the recipe …….
And they’re DONE when the top of the bread, at the top of the can is “thickly” browned. We old Gramas
Have been using tin cans for 100 yrs. No kidding !
We “grease and flour” the inside of the cans before adding the dough. Pam is ok…..Wondra flour will
Nicely coat the tin can without leaving an abundance of flour inside .
You can also check for done ness w long baking straws gently sunk into center and down deep. After u get experience baking in ur cans you’ll learn to recognize that a thickly browned top will mean ur
Bread is “done”.
ALSO : on BALANCING ur glass jars on your oven rack w no problem at all……..just lay a cookie cooling
Rack INSIDE your oven ON TOP OF the oven rack !
Your jars will balance nicely !
Happy home making !
Gram
Oh no. The idea is good, but the chemicals are bad!! Do NOT bake stuff in tin cans..