Chocolate Ganache for Chocolate Cake
How to Make the Best Chocolate Ganache for Your Chocolate Cake
Chocolate ganache is a must-have for chocolate lovers looking to create the perfect chocolate cake. It can be used as a cake filling, a glaze to top a cake, or a spreadable frosting. This easy chocolate ganache recipe will guide you through the process step by step.
What is Chocolate Ganache?
Chocolate ganache is a smooth mixture of chocolate and heavy cream. The ratio of chocolate to cream determines the consistency, whether you want a pourable glaze, a spreadable frosting, or a firm filling for chocolate truffles. The types of chocolate you use, from milk chocolate to bittersweet chocolate, will also affect the flavor and texture.
Easy Chocolate Ganache Recipe
Ingredients:
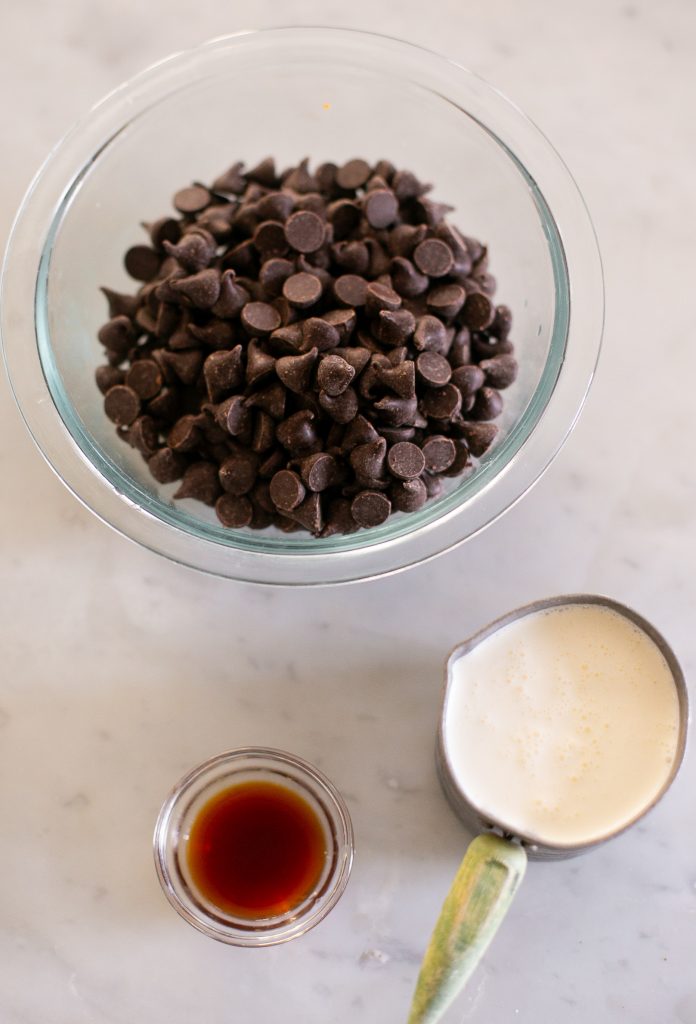
- 12 ounces good quality chocolate. Chocolate chips or chopped chocolate will work. It can be bittersweet, semi-sweet, or milk chocolate.
- 1 cup heavy cream or heavy whipping cream
- 1 teaspoon vanilla extract
- Optional flavor additions (espresso powder, coffee, almond extract, whiskey, bourbon etc.)
Instructions:
- Chop the Chocolate – If using a chocolate bar vs. chocolate chips, finely chop the chocolate.
- Heat the Cream – In a small saucepan over medium heat, warm the cream until it just starts to simmer. Do not let it boil.
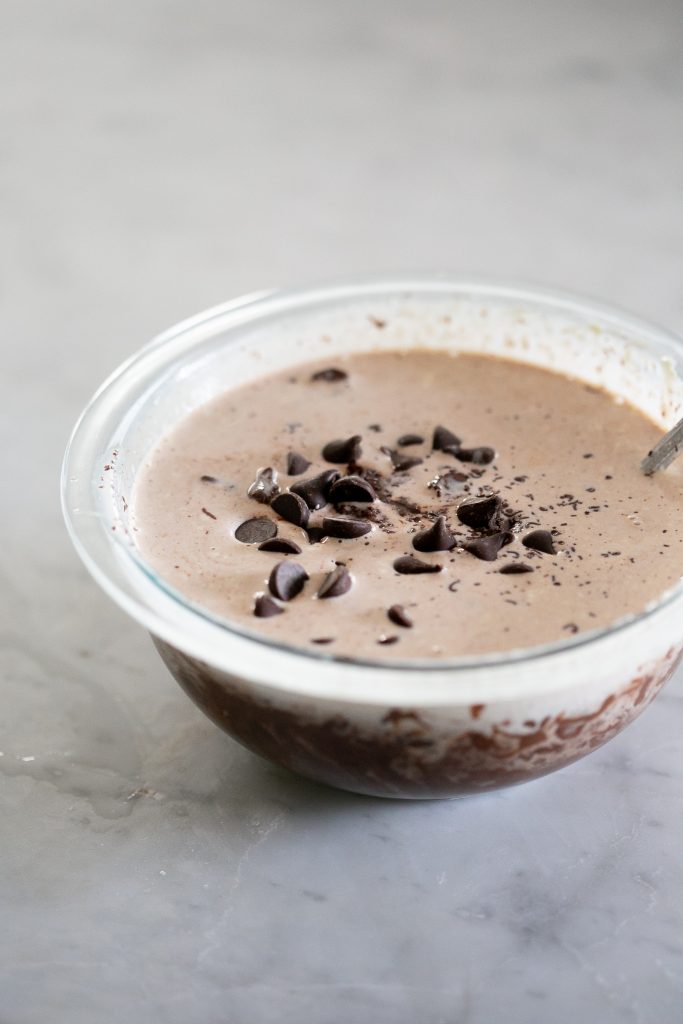
- Pour Over Chocolate – Place the chopped chocolate in a large bowl and pour the hot cream over it. Let it sit for 2-3 minutes to soften the chocolate.
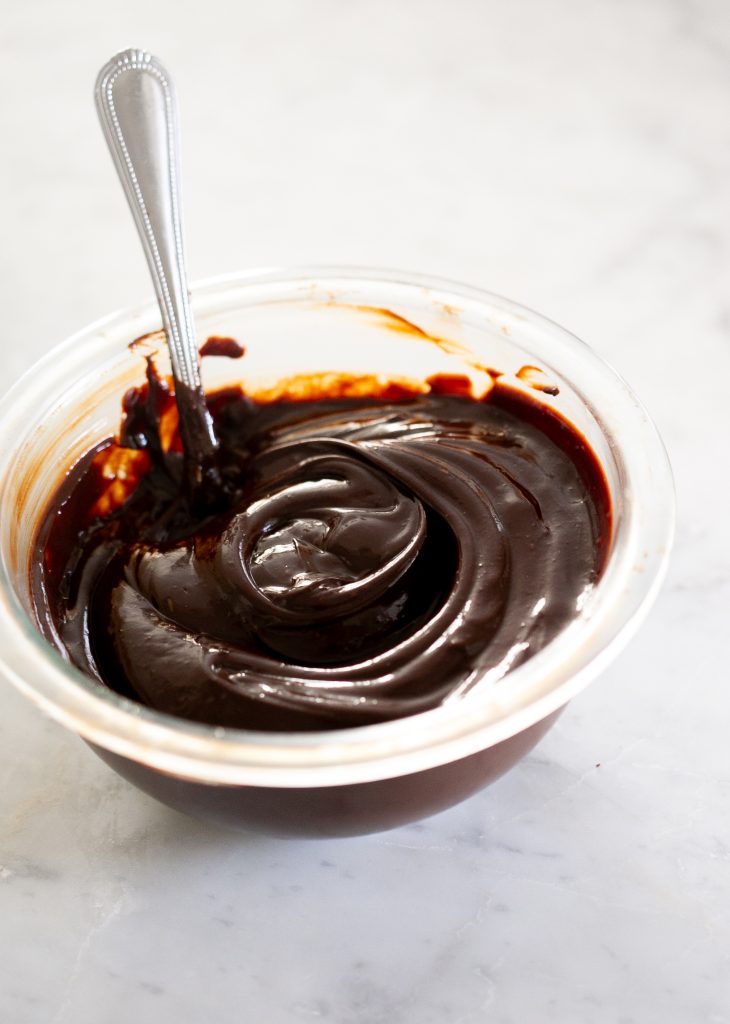
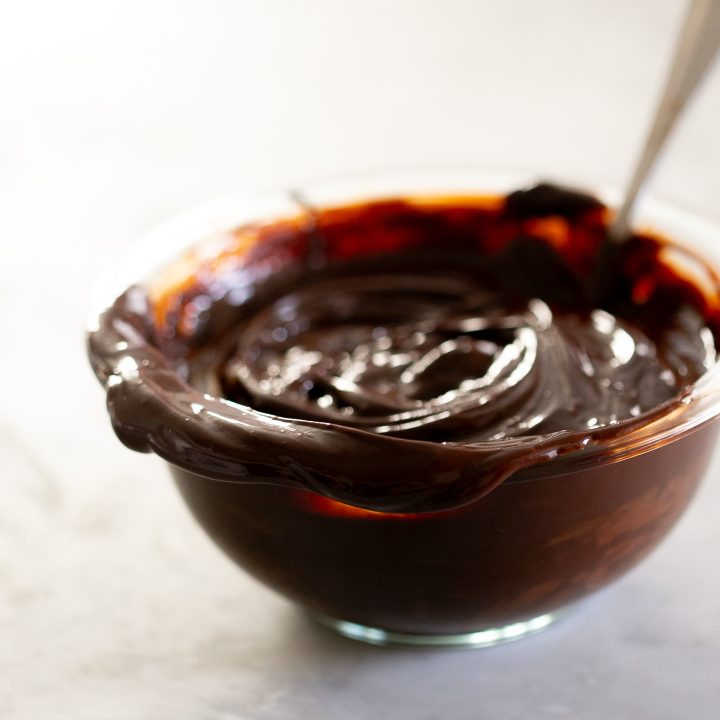
- Whisk Until Smooth – Stir the mixture of chocolate and warm cream with a spatula or whisk until a silky ganache forms. If using vanilla extract or other flavors, stir them in now.
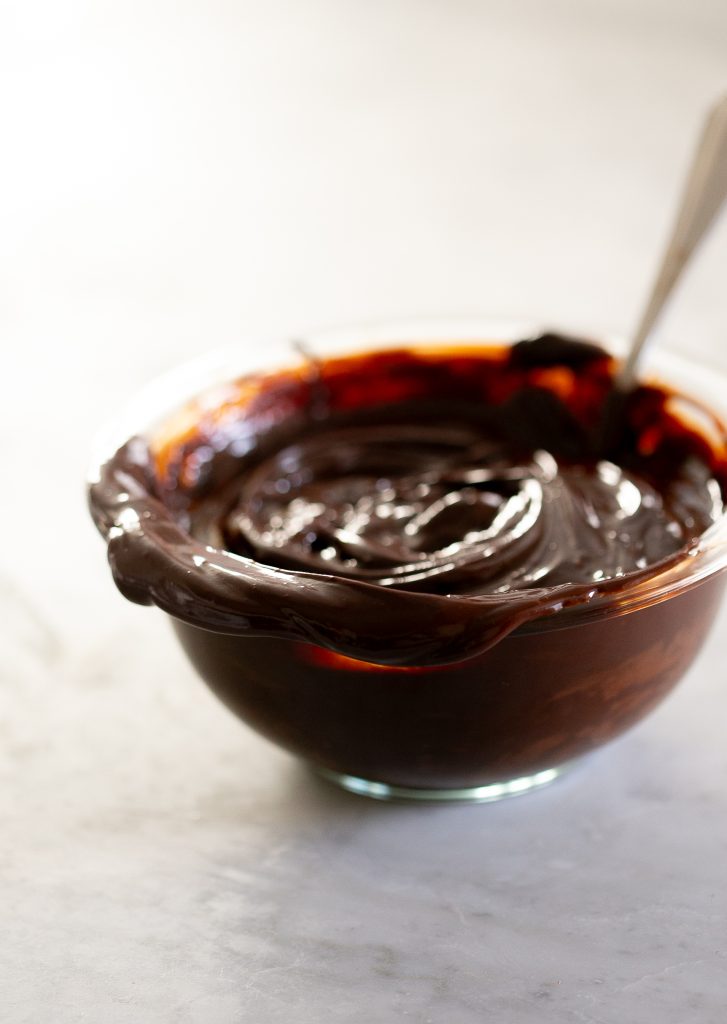
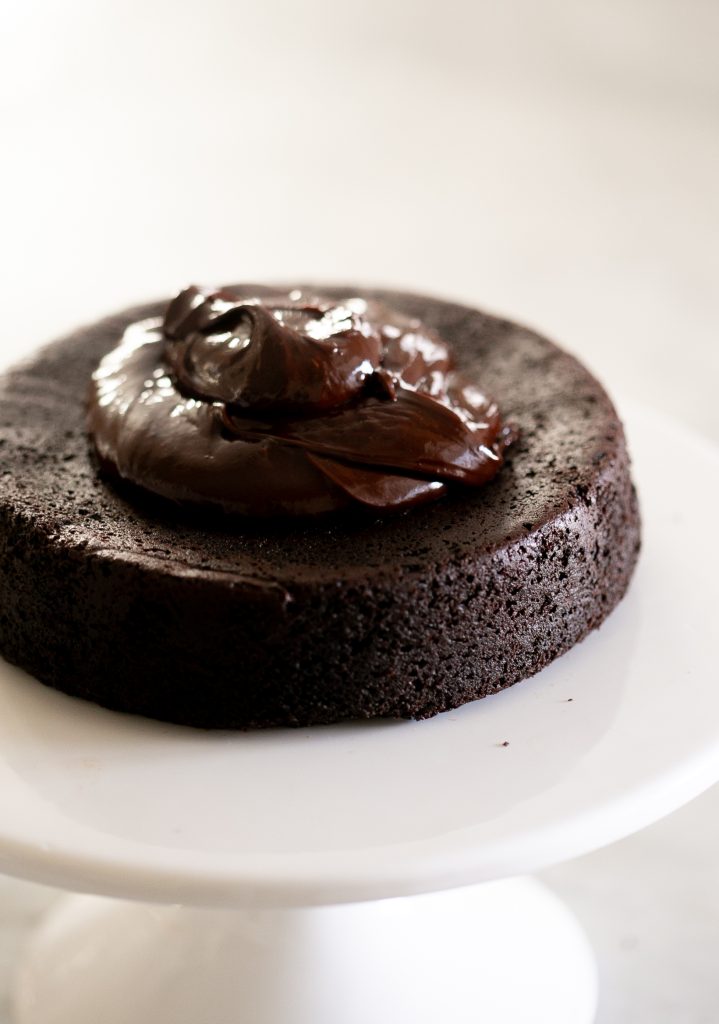
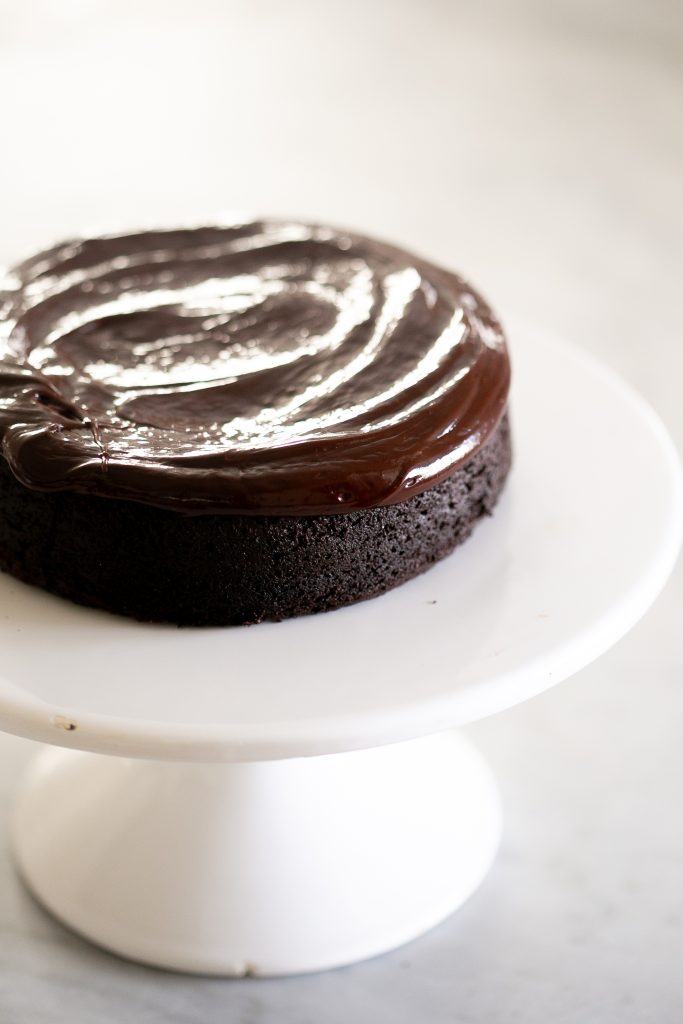
- Let it Cool – Allow the chocolate ganache to cool at room temperature for 15-20 minutes before using it for a drip cake or as a glaze. For a firmer ganache, let it cool longer.
Using Ganache in Cake Recipes
- Drip Cakes – Pour slightly warm ganache over the top of the cake, letting it drip naturally. (You may need to adjust the cream so it’s thin enough.)
- Chocolate Ganache Frosting – Once cooled and thickened, beat it on high speed using a stand mixer with the paddle attachment for a whipped ganache texture.
- Layer Cake Filling – Spread between cake layers using an offset spatula.
- Chocolate Cupcakes – Dip the tops in slightly warm ganache for a glossy finish.
Tips for the Perfect Ganache
- Use good quality chocolate for the best chocolate ganache cake.
- Adjust the Ratio of Chocolate to Cream – More cream results in a softer consistency, while less cream creates a firmer ganache. If you want more of a pourable glaze, you can add more cream.
- Cover and Store Properly – Store leftover ganache in an airtight container with plastic wrap pressed against the surface to prevent skin from forming. You can reheat it as needed to change it back to it’s original consistency.
Alternative Uses for Ganache
- Chocolate Truffles – Let ganache firm up, then scoop and roll into balls.
- Ice Cream Topping – Slightly warm ganache and drizzle over ice cream.
- Whipped Ganache – Use an electric mixer with the whisk attachment at low speed, then increase to high speed for a fluffy, spreadable texture.

Use Chocolate Ganache on these recipes:
Chocolate Ganache for Chocolate Cake
Yield:
1 1/2 cups of ganache
Simple chocolate ganache for cakes and toppings.
Ingredients
- 12 oz chocolate- either chocolate chips or chopped up chocolate bar
- 1 cup heavy cream
- 1 teaspoon vanilla extract
- Optional other flavorings (1 tsp,) almond extract, liqueur of choice, or instant coffee/espresso
Instructions
- Place chocolate chips or chopped chocolate in a heatproof bowl.
- Simmer milk until very warm but not boiling.
- Pour hot milk over the chocolate and let sit for 2-3 minutes
- Stir until ganache is smooth and silky. Add vanilla and other optional flavorings.
- If drizzing as a glaze, use right away, or let it firm up for 10-15 minutes for a thicker topping or filling.
- Store leftover ganache in the fridge for up to 2 weeks, reheating to use as needed.